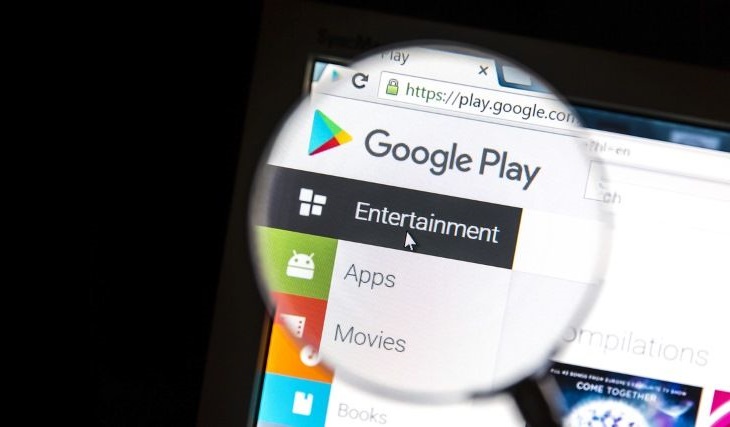
Google tv приставка
Содержание:
Debugging
To test and debug your receiver application on your Android TV device, do the
following:
-
Register your Android TV device and your application on the Google Cast SDK Developer Console.
See Registration for more information about
registering devices and applications. -
Start your sender application and cast to the Android TV device.
-
Connect to your Android TV device via ADB, as described in .
-
On your development machine, open a Chrome browser window and navigate to
chrome://inspect. -
Click the inspect link to bring the receiver into the debugger.
-
In the Chrome Remote Debugger console, enable debug logging by entering the
following:
See Debugging for more information.
Setting up for development
- Set up your Android TV device:
- Install the USB cable, but don’t connect the master end of the USB cable
to your computer just yet. - Connect the Android TV device to the local network.
- Sign into your Google account.
- Install the USB cable, but don’t connect the master end of the USB cable
- From the Settings, in the Device row, select About.
- Scroll down to and click on Build several times until a dialog
appears with the message, «You are now a developer.» - In the Preferences row, select Developer options, select
USB debugging,
and select On. - Navigate back to the home screen. You must do this to apply the settings you
just selected. The settings will persist unless you perform a factory reset. - Register your Android TV device on the
Google Cast SDK Developer Console, as
described in .
Guidelines for Android TV compatibility
Making your Cast application compatible with Android TV requires very little
additional work. Here are some recommendations and common pitfalls to avoid in
order to ensure your application is compatible with Android TV:
- Be aware that the user-agent string contains both «Android» and «CrKey»;
some sites may redirect to a mobile-only site because they detect the «Android»
label. Don’t assume that «Android» in the user-agent string always indicates a
mobile user. - Android’s media stack may use transparent GZIP for fetching data. Make sure
your media data can respond to . - Android TV HTML5 media events may be triggered in different timings than
Chromecast, this may reveal issues that were hidden on Chromecast. - When updating the media, use media related events fired by
elements, like , and .
Avoid using networking related events like , and
, as these tend to be platform dependent. See
for more information about handling media events in your receiver. - When configuring your receiver site’s HTTPS certificates, be sure to include
intermediate CA certificates. See the Qualsys SSL test page
to verify: if the trusted certification path for your site includes a CA
certificate labelled “extra download”, then it may not load on Android-based
platforms. - While Chromecast displays the receiver page on a 720p graphics plane, other
Cast platforms including Android TV may display the page up to 1080p. Ensure
your receiver page scales gracefully at different resolutions.
Using Android Debug Bridge
The Android TV platform is featured on many kinds of consumer electronics
devices: televisions, set-top boxes, gaming consoles and so forth.
Each may be configured differently. If you are having difficulty accessing the
Android TV system resources through the device’s user interface, you may
use the Android Debug Bridge (ADB) to obtain your device’s serial number for
registration, as well as to debug your application. See Android
Debug Bridge for more
information.
Using ADB with a USB cable
To connect to your device via ADB with a USB cable connection:
- Set up your Android TV device for development, as described in .
- Connect the master end of the USB cable to your computer.
- In the Allow USB debugging? dialog, select Always allow from
this computer, and select OK. -
On your computer, open a terminal and enter ADB commands. You can verify the
connection is established and that the Android TV device is communicating
across the network with the following command:
Using ADB over TCP/IP
ADB works without a USB cable, over TCP/IP, but you must first get the Android
TV device’s IP address. Developer-issue devices, like the ADT-1, listen for ADB
port connections automatically and can be connected without initializing the
port. Standard retail Android TV devices do not listen for ADB connections
automatically; for these devices, you must first connect to ADB with a USB cable
and initialize the port.
- Set up your Android TV device for development, as described in .
- On Android TV, in the Device row, select Network > Wi-Fi,
and select the connected network. - Select Status info and note the IP address.
-
If your device is a standard, retail Android TV device, do the following:
- Follow the steps under .
- Be sure your computer is connected to the same network as the Android
TV device. -
On your computer, in a terminal, initialize the port for TCP/IP by
entering the following: -
Remove the USB cable, and enter the following in the terminal:
-
If your’s is a developer-issue Android TV device, do the following:
- Be sure your computer is connected to the same network as your Android
TV device. -
Open a terminal and enter the following:
- Be sure your computer is connected to the same network as your Android
-
On Android TV, in the Allow USB debugging? dialog, select Always allow
from this computer, and select OK. You can verify the connection
is established and that the Android TV device is communicating across the
network with the following command: